Beginner Triathlon Bike Setup: Comfort, Confidence, and Smart Priorities
Your first triathlon bike setup should make you feel steady, efficient, and ready to train again tomorrow. That is the real goal behind the best beginner triathlon bike setup - not copying what fast age-groupers use, and definitely not spending like a pro before you know what actually helps you.
Most beginners lose time and confidence in two places: poor fit and poor priorities. They buy upgrades before they fix comfort, handling, or position. A strong setup starts with the basics done well, because a bike that feels predictable over 40 km is worth far more than an expensive frame that never feels right.
What the best beginner triathlon bike setup really needs
If you are training for your first sprint or Olympic-distance race, you do not need a fully optimized superbike. You need a road bike or entry-level tri bike that fits your body, supports consistent training, and lets you ride in control when your heart rate is high.
That means your setup should solve four things at once: comfort, power transfer, aerodynamics, and reliability. The order matters. Comfort comes first because discomfort changes your posture, your breathing, and your ability to run well after the bike. Reliability matters more than marginal speed because mechanical stress destroys race-day confidence fast.
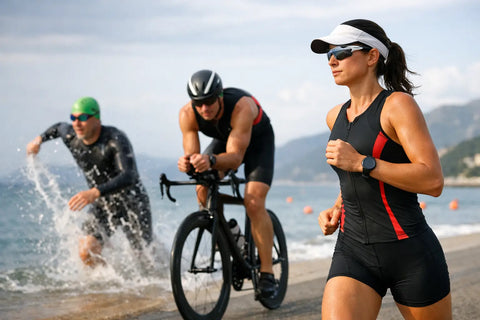
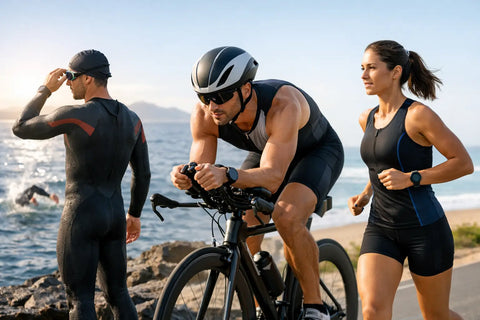
For most new triathletes, a road bike with clip-on aerobars is the smartest starting point. It is usually cheaper, easier to handle, and more versatile for group rides and general fitness. A dedicated tri bike can make sense if your budget is stronger and you already know you will stay in the sport, but it comes with trade-offs. The position is more aggressive, handling is different, and a bad fit feels worse on a tri bike than on a road bike.
Start with the bike you can actually ride well
A lot of beginners ask whether they need to buy a tri bike before their first race. Usually, no. A well-fitted road bike can carry you through your first season very effectively. Add-on aerobars can help you reduce wind resistance without forcing you into a costly full-bike decision too early.
If you are choosing between used and new, used often wins on value. A quality aluminum road bike from a reputable brand with a dependable groupset is often a better beginner purchase than a cheap new bike with weaker components. The key is fit, frame condition, and service history. Cracks, corrosion, worn drivetrain parts, and neglected wheels can turn a bargain into a money pit.
Wheel size, brand prestige, and frame material matter less than people think at the beginner level. Carbon is nice, but aluminum is absolutely capable. Shimano 105-level parts are great, but Tiagra or even Sora can still work well if maintained. The point is to get a bike that shifts cleanly, brakes predictably, and fits your current flexibility.
Bike fit is the upgrade that changes everything
The best beginner triathlon bike setup is built around position, not parts. If your saddle is too high, your hips will rock and your hamstrings will tighten before the run. If your reach is too long, you will overload your shoulders and lose control. If your cockpit is too low, you may look aero for five minutes and then sit up for the rest of the ride.
A beginner-friendly fit should feel sustainable, not extreme. You want a posture that lowers your torso enough to be efficient while still letting you breathe deeply and stay stable. This is where many new athletes go wrong. They chase an aggressive position because it looks fast, but they do not have the mobility or adaptation yet to hold it.
If a professional bike fit is within budget, it is one of the smartest early investments you can make. If not, focus on three checkpoints: a saddle height that allows a slight knee bend at the bottom of the pedal stroke, a reach that does not force you to lock your elbows, and aerobars that let you rest your upper body instead of fighting the front end.
The contact points matter more than flashy upgrades
Your saddle, shoes, and bars decide whether you enjoy training or count the minutes until it ends. That is why contact points deserve more attention than aero wheels or integrated storage when you are starting out.
Saddle choice is personal. There is no universally best triathlon saddle, only the one that supports your pelvic position without causing numbness or hot spots. Tri saddles often work better when you rotate forward into aero, but some riders do well with a standard road saddle. Test, adjust, and be patient. Small changes in tilt or fore-aft position can make a big difference.
Shoes should feel secure without crushing your feet. Stiff soles help with power transfer, but comfort still wins. If you are not used to clipless pedals, there will be a learning curve. Practice clipping in and out in a safe area before race week. A simple pedal system you can use consistently is better than a more advanced option that makes you nervous at every stop. For detailed guidance on choosing the right footwear, check out our comprehensive cycling shoe reviews.
Aerobars should support your forearms well and allow a natural hand position. Beginners often set them too low or too narrow because they assume lower is faster. Sometimes it is, but only if you can hold it. A slightly taller, more relaxed aero position usually beats an aggressive one you abandon halfway through the course. Learn more about setup and fitting for aerobars here.
Gear you actually need for a beginner setup
There is a difference between essential gear and gear that can wait. A quality cycling helmet, repair kit, bottles, cages, and a basic bike computer or watch matter early because they support safety and training consistency. Deep-section wheels, premium tires paired with race latex setups, and electronic shifting can wait.
A good beginner repair kit should include a spare tube, tire levers, CO2 or a mini pump, and a small multitool. You do not need to become a full mechanic overnight, but you should know how to fix a flat and make basic adjustments. That knowledge buys peace of mind during training.
Hydration also deserves a simple setup. Two bottle cages are enough for most beginner sessions and race distances. One on the frame and one behind the saddle can work, but on a road bike, a standard frame setup is often easiest. Complicated hydration systems only help if you use them comfortably.
For training data, keep it practical. A heart rate monitor can be more useful than a power meter for many first-time triathletes because it is cheaper and easier to understand. Power is valuable, but only if you are ready to use it well. If your budget is limited, spend on fit and maintenance first.
Best beginner triathlon bike setup on a real budget
A smart setup does not need to be cheap in a fragile way. It needs to be efficient. For many athletes, the best route is an entry-level road bike, clip-on aerobars, proper bike shorts or a tri suit, a comfortable saddle, clipless pedals, and fresh tires. That gives you the biggest performance gain per peso.
If your budget is tighter, prioritize in this order: bike fit, helmet, reliable tires, basic maintenance, and then comfort upgrades. If your budget is healthier, add aerobars, better shoes, and maybe a bike computer before thinking about premium wheels or a tri-specific frame.
There is also a middle ground that works very well - buying a used road bike, servicing it fully, and building a clean beginner race setup around it. That approach often beats buying a new bike at the absolute bottom of the market. Better components in good condition usually age well. Poor components rarely become better with time.
Common setup mistakes beginners should avoid
The biggest mistake is building a setup for an imaginary future athlete instead of your current level. If your flexibility is average, your handling is still improving, and your race is in three months, your bike should reflect that. Stability and repeatable training matter more than theoretical gains.
Another mistake is ignoring maintenance. Even the best beginner triathlon bike setup fails if the chain is worn, the tires are old, or the brakes rub every ride. A clean drivetrain, correct tire pressure, and smooth shifting create speed more reliably than many upgrades. Understanding basic triathlon rules and equipment standards will also help you avoid race-day surprises.
Finally, avoid changing too much right before a race. New saddle, new shoes, and new position one week out is a classic beginner error. Race what you have trained on. Confidence comes from repetition.
When to move from beginner setup to performance setup
You will know it is time to upgrade when your current bike no longer limits comfort or consistency, but does limit performance goals. Maybe you are racing longer distances, spending more time in aero, or targeting specific time improvements. That is the right moment to explore a dedicated tri bike, power meter, or more advanced cockpit options.
Until then, build your setup around what helps you train week after week with control. That is how progress happens in triathlon - not from one perfect purchase, but from a system that keeps you showing up. If you want a simpler way to filter gear decisions and stay focused on race readiness, TriLaunchpad exists for exactly that kind of progression.
The right bike setup should remove friction, not add it. If your bike feels comfortable, reliable, and easy to trust, you are already much closer to a strong first race than you think.
Find the perfect cycling gear at TriLaunchpad — your triathlon journey starts here. Shop all collections →